As a Salesforce user/admin, you’ve probably needed to mass import, export, update and delete Salesforce data. They give you a few tools to do so, but most require giving users too much power/access for my taste. Google’s Data Connector for Salesforce is a great alternative.
>> Related: How to Re-run Salesforce Lead Assignment Rules: Process Builder & Apex <<
In this post:
Why not Apex Data Loader?
Even for Salesforce admins, tools like the Apex Data Loader, Dataloader.io, and Workbench are a pain when doing mass updates of data.
Typically the process is:
- Create a report of the data you want to update
- Export the results of the report to a CSV file
- Manipulate the data in Excel and save
- Use the tool of your choice to push the updates back to Salesforce
But sometimes you need to outsource updates to other members of your team. For example, when you need to update and refresh your Sales reps target accounts every quarter.
Using Google’s Data Connector for Salesforce instead
If you’re a GSuite user, I recommend exporting the data from Salesforce into a spreadsheet, sharing to your end users, and updating back to Salesforce, all within Google Sheets.
To get started, you’ll need to install this add-on to Google Sheets. If you’re an admin, you have the choice to install for all users in your account, or just for your own user.
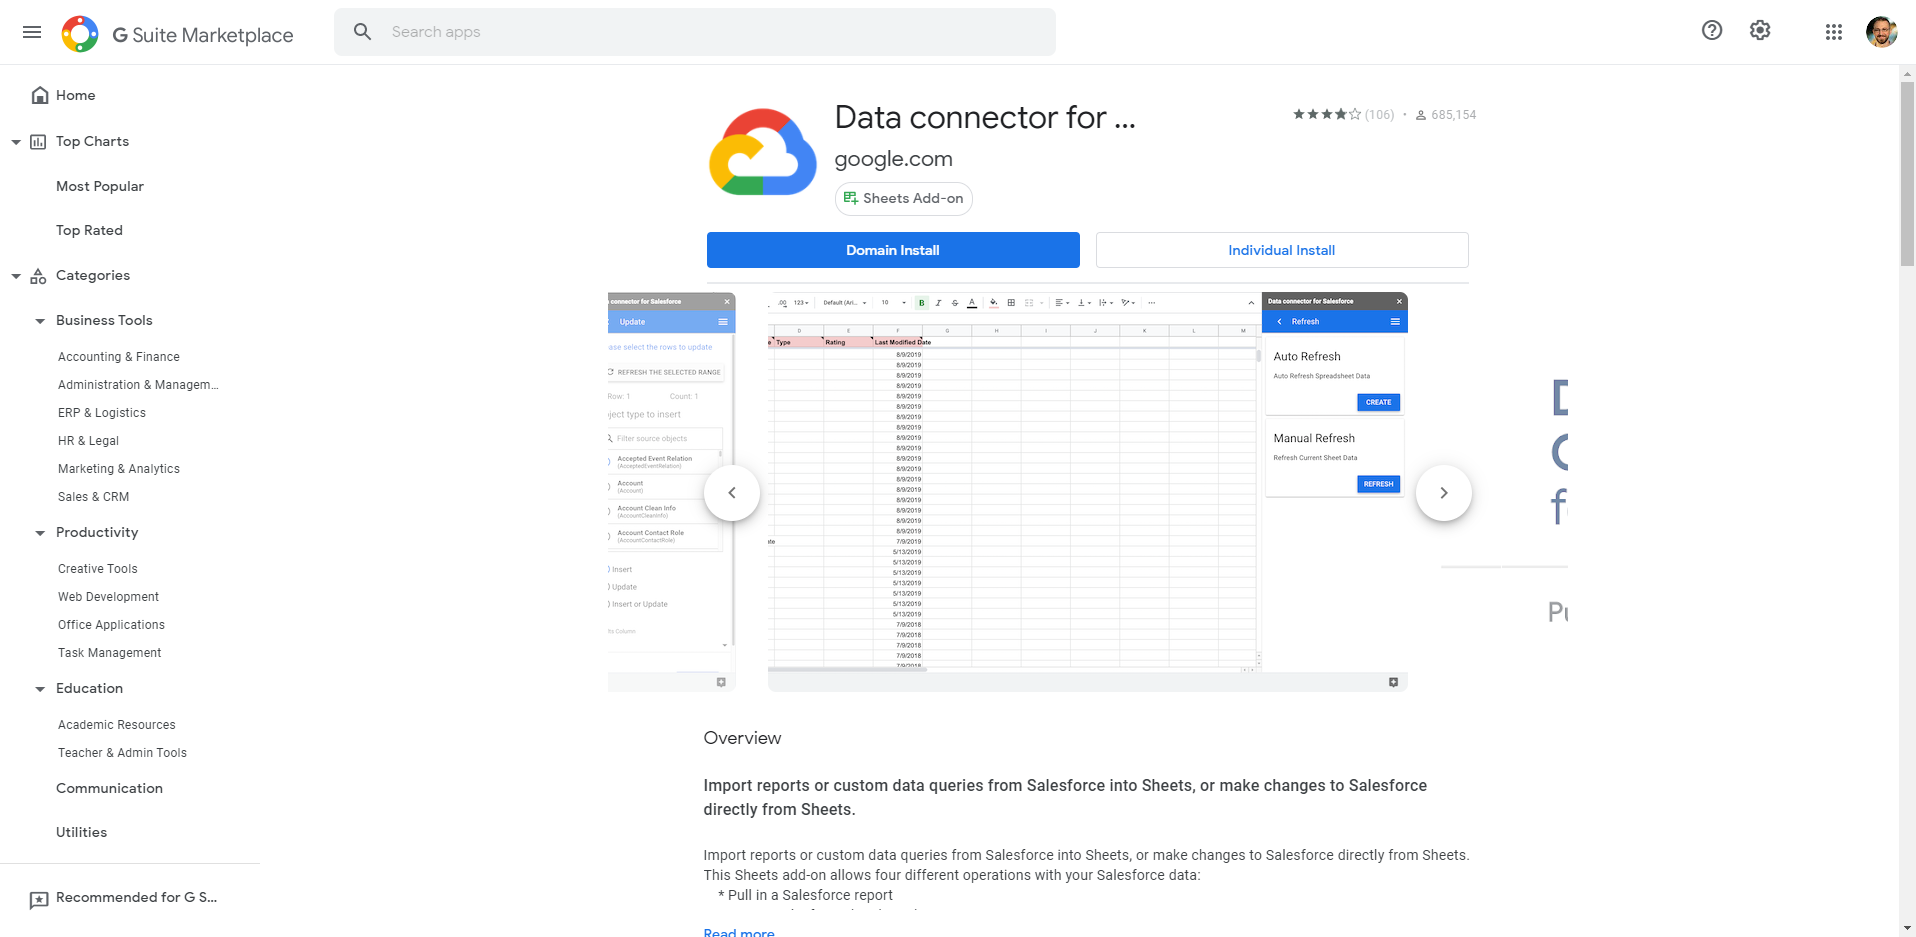
Once installed, open up a new sheet, and select Add-Ons > Data Connector for Salesforce > Open. You’ll be prompted to login to either a Production or Sandbox instance of Salesforce. Select the appropriate option, and then login with your Salesforce credentials in the pop-up window.
Once authorized, you have a few options. For this tutorial, we’re going to import the results of a Salesforce report into Google Sheets, update a few address fields on the results, and then push the updates back into Salesforce. You can also import data using a custom (SOQL) query, or delete data (make sure you have an ID field in your spreadsheet!), but we’ll be using the Reports and Update options here.
Step by Step
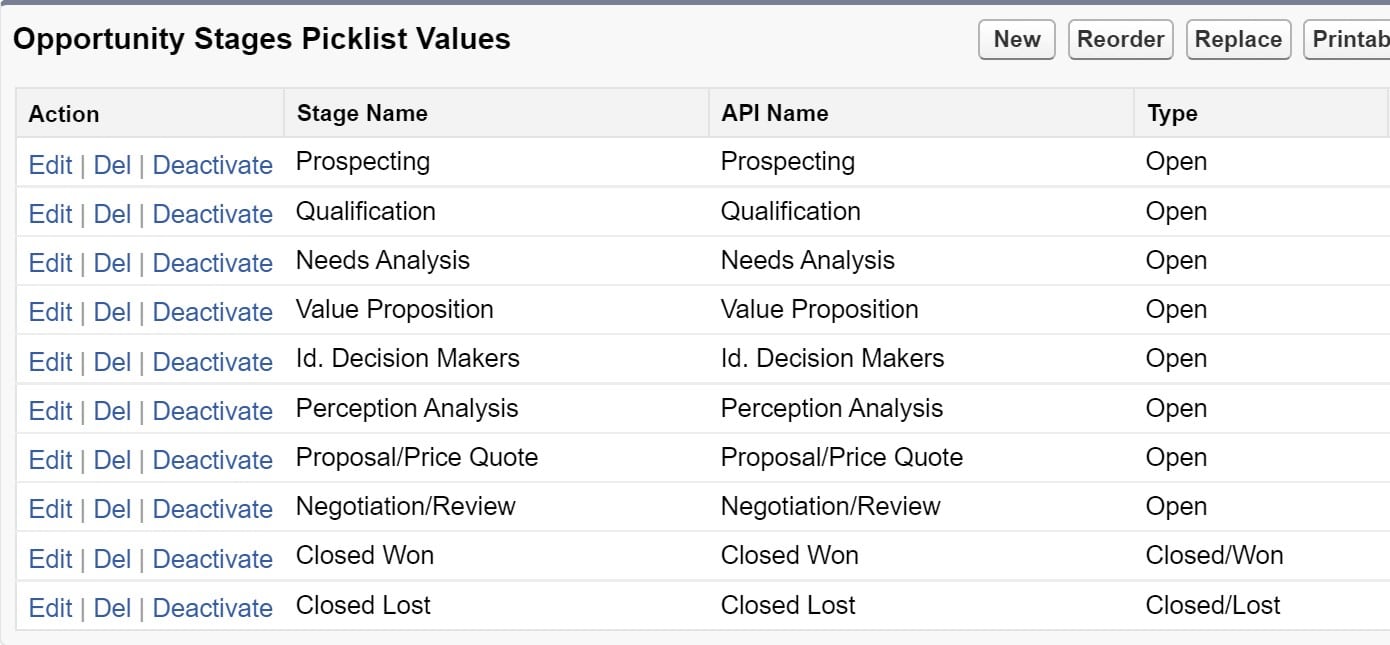
In one of my test orgs, I created a dummy Account, and created a report that pulls in that Account as a result. To pull this into Google Sheets, from the Add-on sidebar, select Reports > Recently Run Report > [Your Report Here] > Get Data.
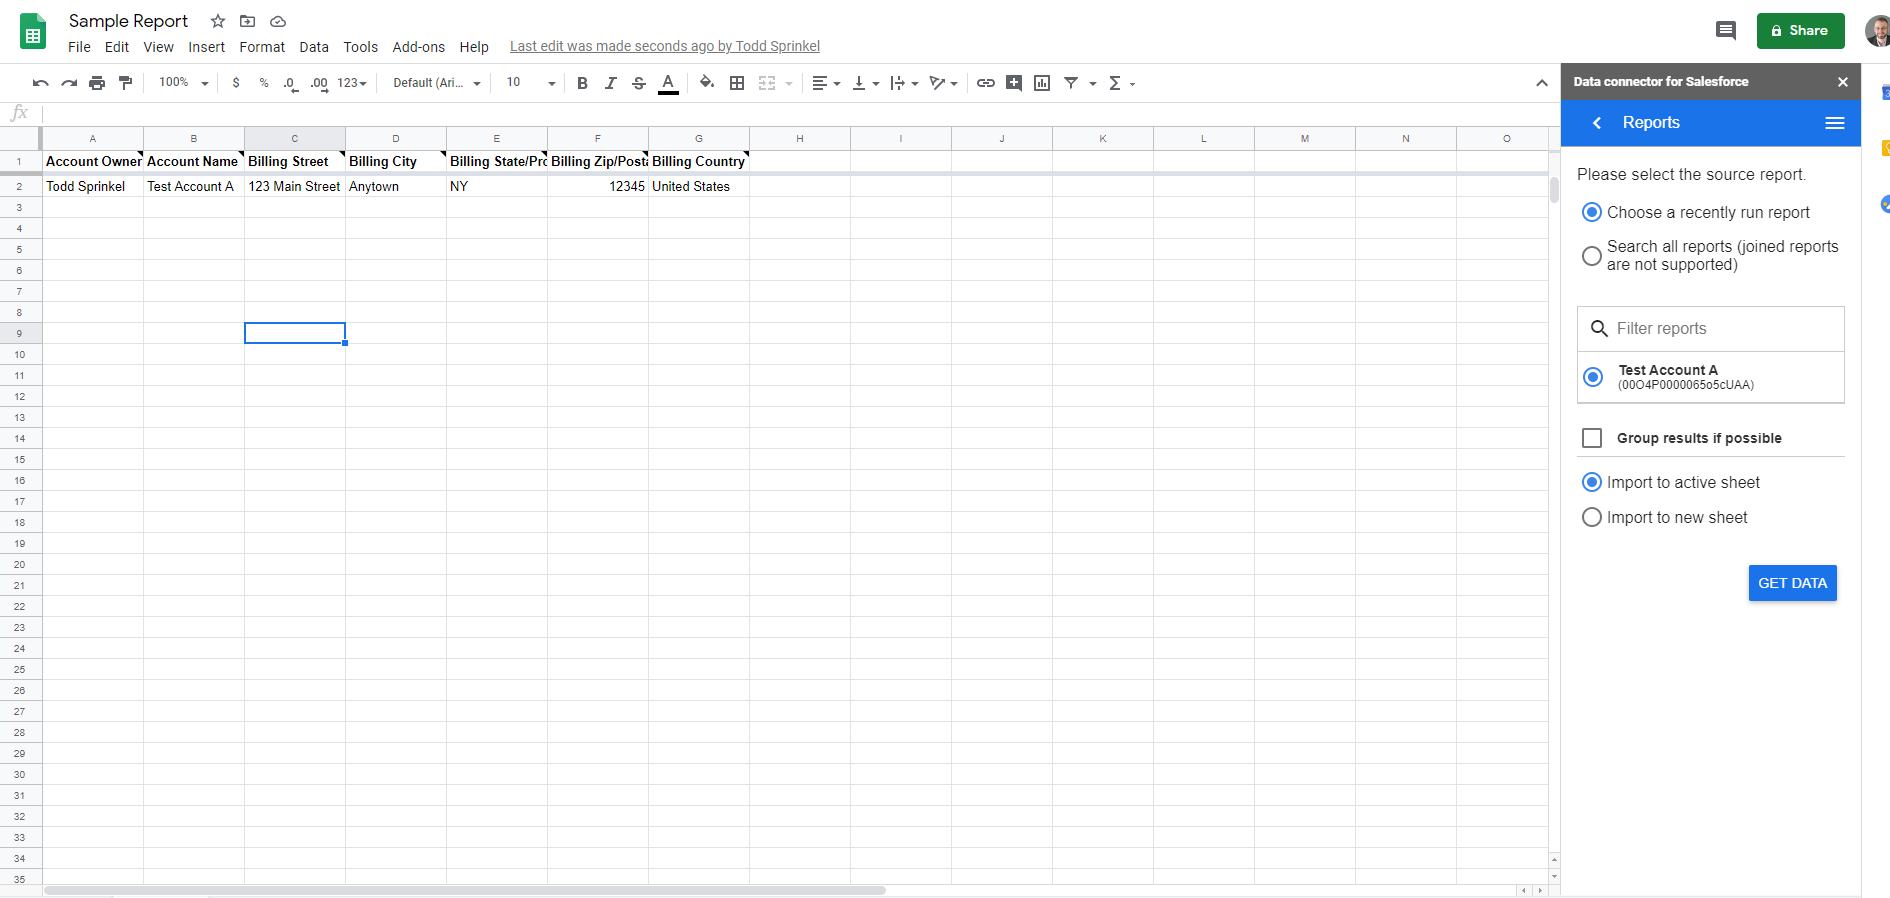
Once you’ve got your data imported, you can then share this sheet with other users, or manipulate the data in the sheet yourself.
In this example, we’ll update the Billing Street, Billing City and Billing State for our Account.
Once updated, we want to push this data back into Salesforce. To do so, select Update from the sidebar, select the range of cells you want to update and the Salesforce object to update (in this case, Account), Update, which column contains the Id field, and in which column you want the results to appear.

After that, map the remaining columns to their corresponding Salesforce fields and click Execute. You’ll be prompted to confirm that you want to proceed; click Update to do so.
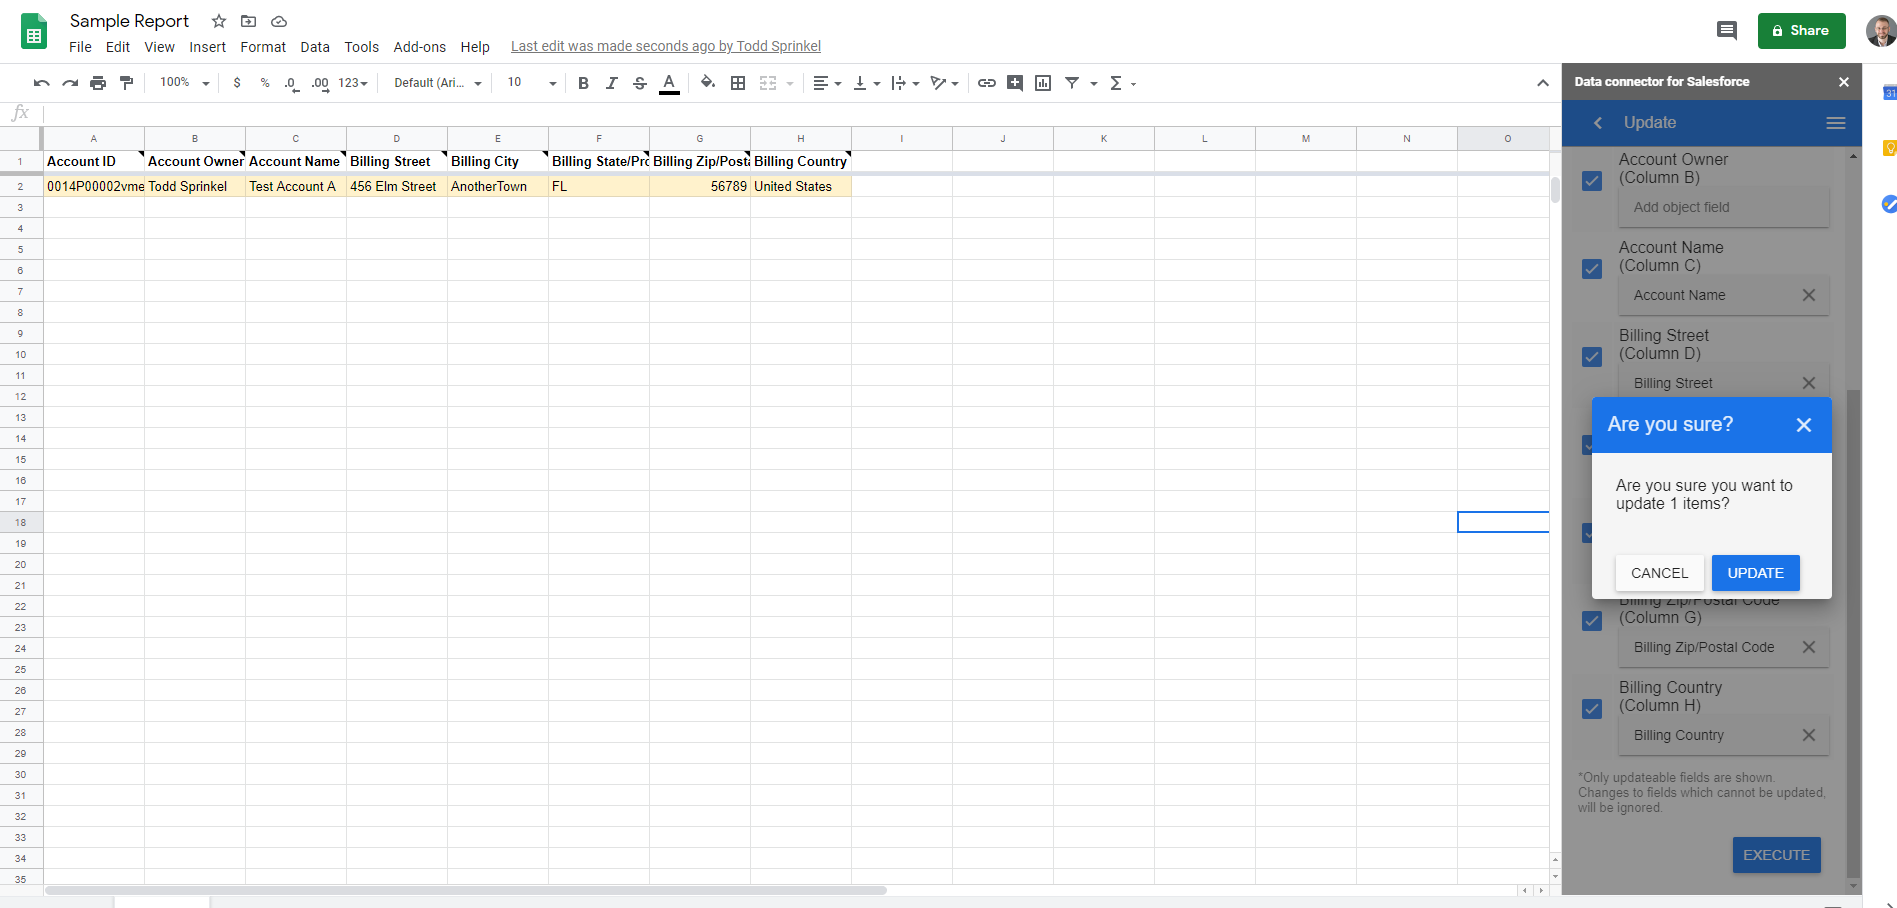
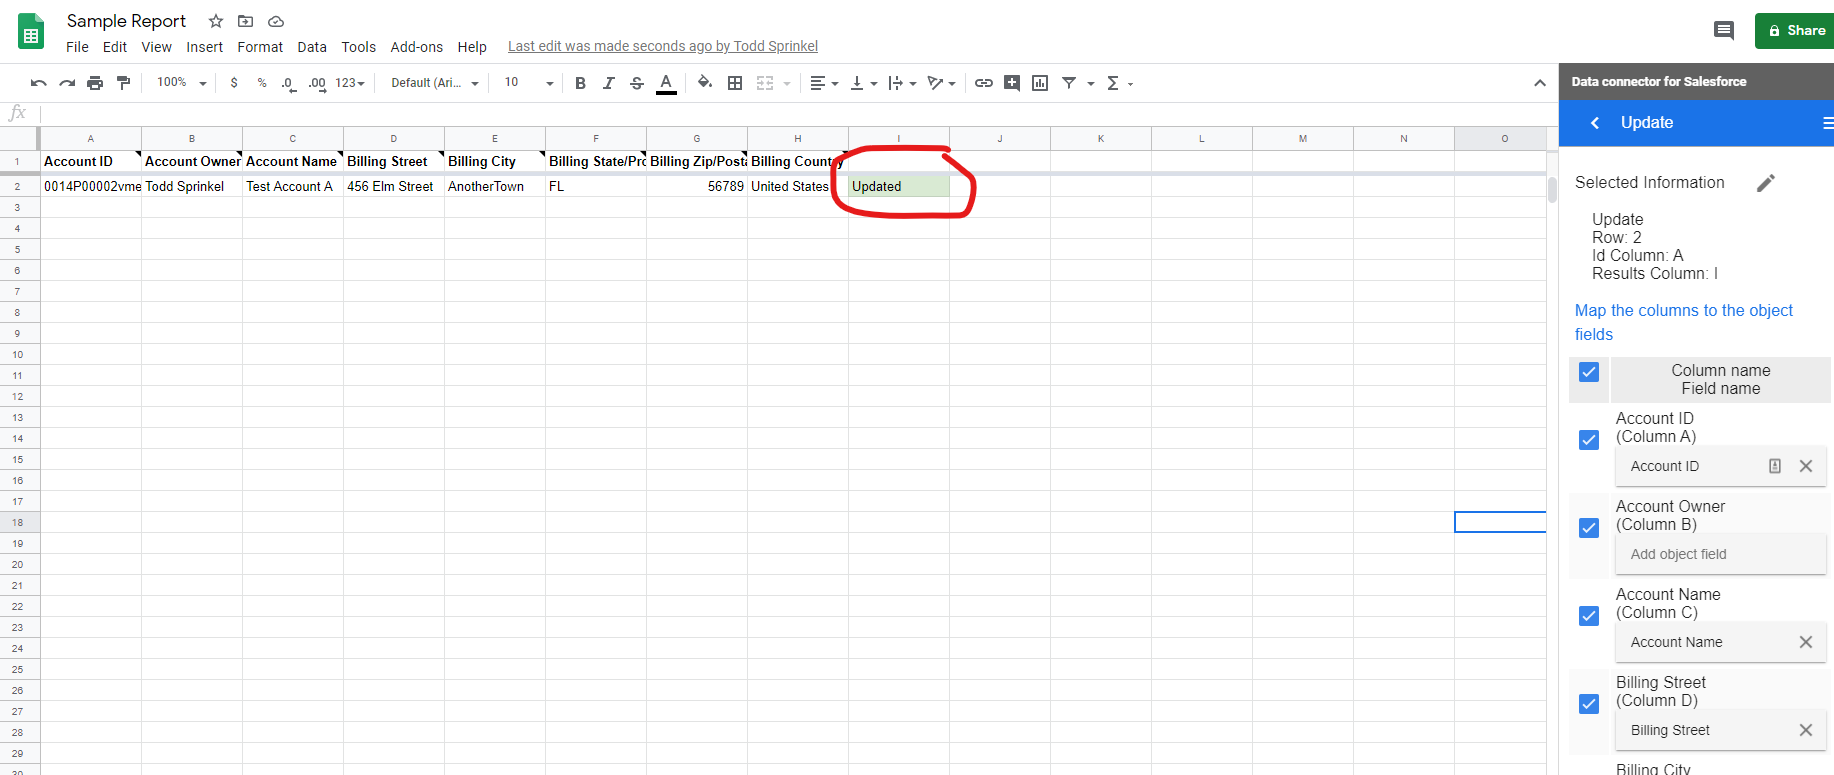
Once the update finishes, you’ll see the results in the column you selected before. In this example, you’d either see “Updated” or an error message (if the update failed for whatever reason).
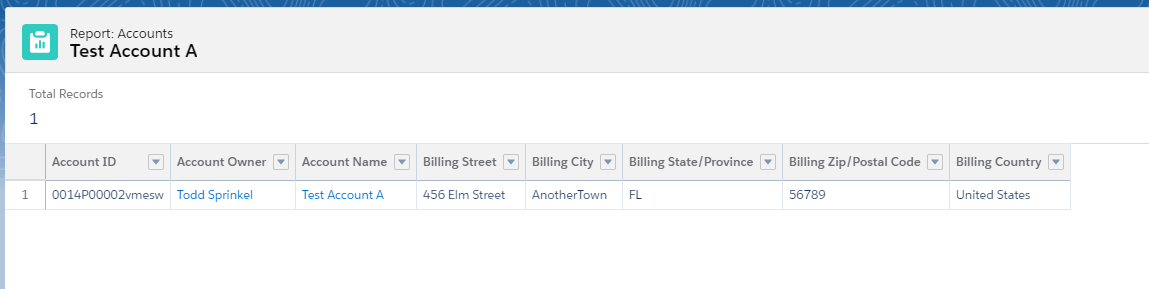
Switching back to Salesforce, you can see that the Account was updated successfully with the new information:
And voila! You and your end users can import, export, update, and delete Salesforce data in Google Sheets.